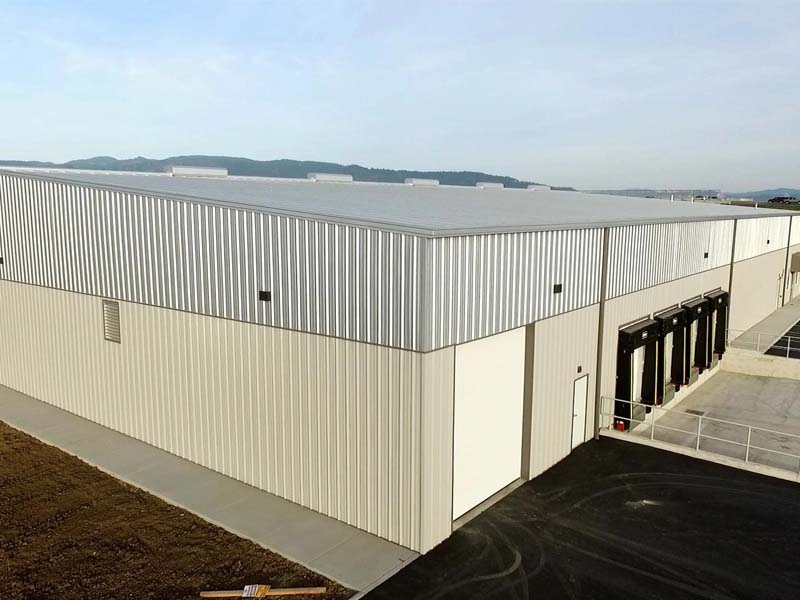
A steel warehouse can be installed quickly and safely when the sequence is clear and the site is prepared properly. Most delays and rework happen for the same reasons: foundations aren’t ready, anchor bolts are out of tolerance, bracing is installed too late, or bolting and alignment are rushed.
This guide explains a practical, field-friendly erection workflow—from site preparation and material receiving to primary frame installation, secondary steel, cladding, and finishing. It’s written to help both buyers and installation teams reduce avoidable mistakes and keep the project moving.
If you’re preparing an RFQ or planning the installation schedule, you can use the checklists in this article to align your scope, manpower, and equipment before the first lift.
Site Preparation (Before Any Steel Is Lifted)
1) Ground preparation and access
Clear and level the jobsite, including:
- Crane working area and outriggers zone
- Component storage area and internal access routes
- Drainage planning to avoid standing water
Hardening the crane area (or using proper mats) reduces risk and helps maintain stability during lifting operations.
2) Surveying and layout (setting control points)
Accurate setting-out prevents alignment issues later. Confirm:
- Building grid lines and column centerlines
- Elevation benchmarks and control points
- Embed/anchor bolt positions
Set permanent reference points so checks can be repeated throughout erection.
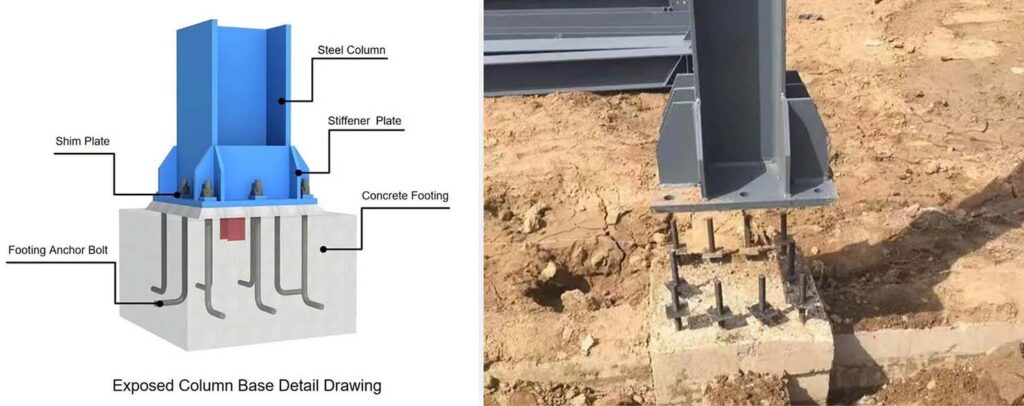
3) Foundation acceptance and anchor bolt checks
Before steel arrives, verify:
- Concrete strength and foundation top condition
- Foundation axis and elevation tolerances
- Anchor bolt position, projection, verticality, and spacing
If there is deviation, correct it early—fixing anchor bolt problems after steel is on site is one of the most expensive sources of rework.
For budgeting, note that foundations and local installation are usually part of local works—our warehouse cost guide breaks down the typical cost buckets and what’s included.
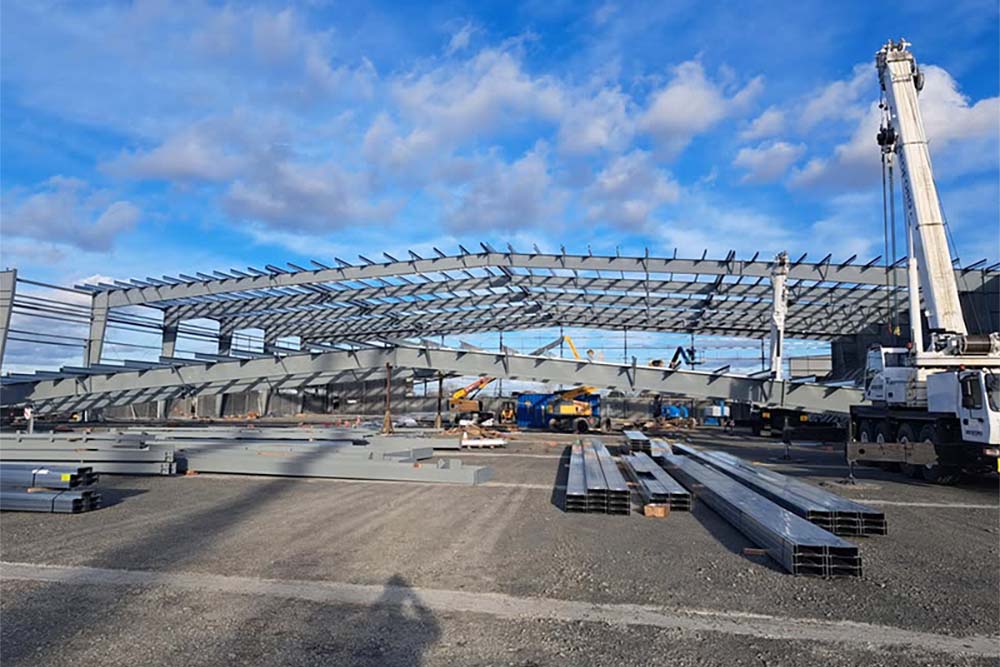
Receiving & Stacking Steel Components on Site
1) Incoming inspection
When components arrive, check:
- Component marks and quantities
- Key dimensions and visible damage
- Packing list alignment with delivery
2) Storage and stacking by erection sequence
Store steel in the installation order to reduce handling:
- Use timber blocks to keep steel off the ground
- Keep bundles stable and avoid excessive stacking height
- Protect from rain and moisture where possible
- Store columns safely (often upright or well-chocked), beams and purlins supported evenly to prevent distortion
Good site logistics can save days of unnecessary re-lifting and searching.
If you’re planning a full warehouse kit package and want a clear supply scope, you can start from our Warehouse Buildings service page and submit your basic dimensions for an RFQ.
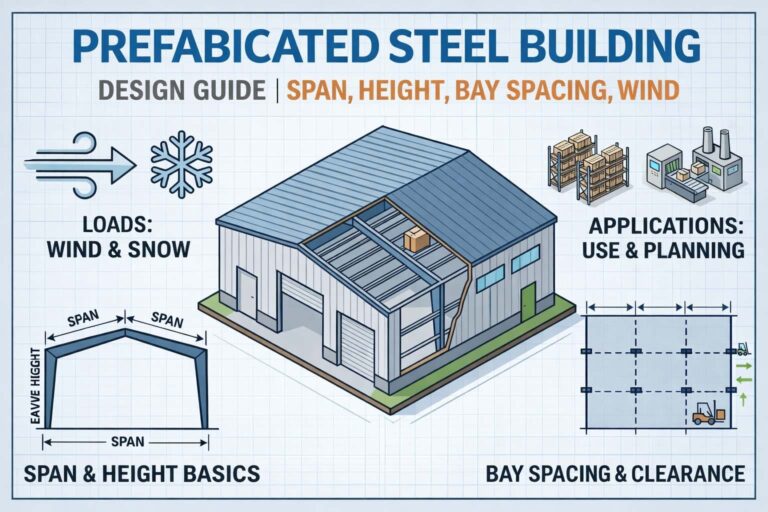
Steel Column Installation (Primary Frame Step 1)
The goal of column erection is simple: control verticality and base elevation.
1) Foundation top cleaning and leveling
Clean the base area and ensure the bearing surface is ready. Use shims/leveling plates as needed to achieve accurate base elevation at the column seat.
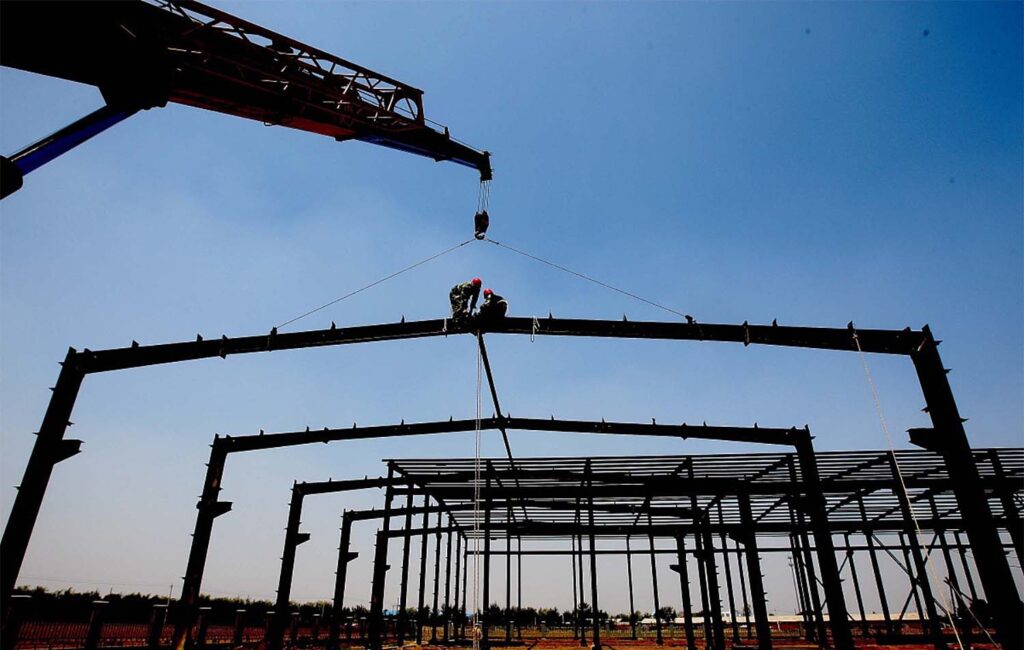
2) Column lifting and positioning
Depending on column weight and site conditions, lifting may be done with:
- Single-crane rotation for lighter columns
- Two-crane lifting for heavier columns or special geometry
Use tag lines to control rotation and prevent impact during placement.
3) Base connection and initial tightening
Place the column onto anchor bolts and tighten nuts snug—do not fully lock until alignment is confirmed. Leave room for adjustment.
4) Plumb and level verification, then final tightening
Check:
- Column verticality in two directions (plumb)
- Base elevation and alignment with grid lines
Adjust using shims and controlled tension via tag lines. Once tolerances are met, tighten anchor bolt nuts in a controlled sequence (initial tightening → final tightening). Secure shims where required so they cannot slip during the next lifts.
5) Install column bracing as early as possible
After the first set of columns is installed, install column bracing promptly to stabilize the frame. Delaying bracing increases the risk of instability and makes alignment harder.
Steel Beam Installation (Primary Frame Step 2)
Beam installation focuses on connection accuracy and structural stability.
1) Install main beams first
After columns are stable, lift and install main beams (roof beams, primary rafters, floor main beams if applicable). Connections are typically made with high-strength bolts; some situations use a bolt-first, weld-later method depending on the design and scope.
Use temporary supports where needed to prevent beam rotation or deformation.
2) Alignment checks
Verify:
- Beam elevation and levelness
- Span alignment and connection gap consistency
- Frame squareness relative to grid lines
Only after alignment is correct should bolting be progressed to controlled tightening.
3) High-strength bolt installation and tightening sequence
Common good practice includes:
- Follow the defined tightening sequence: initial → intermediate → final
- Use calibrated torque tools or specified tensioning methods
- Keep faying surfaces clean and dry (no oil, heavy rust, or contamination)
- Maintain consistent bolt orientation where required
- Ensure appropriate thread protrusion after tightening (commonly a few threads visible)
Avoid hammering bolts into place—if holes don’t align, stop and correct the fit-up.
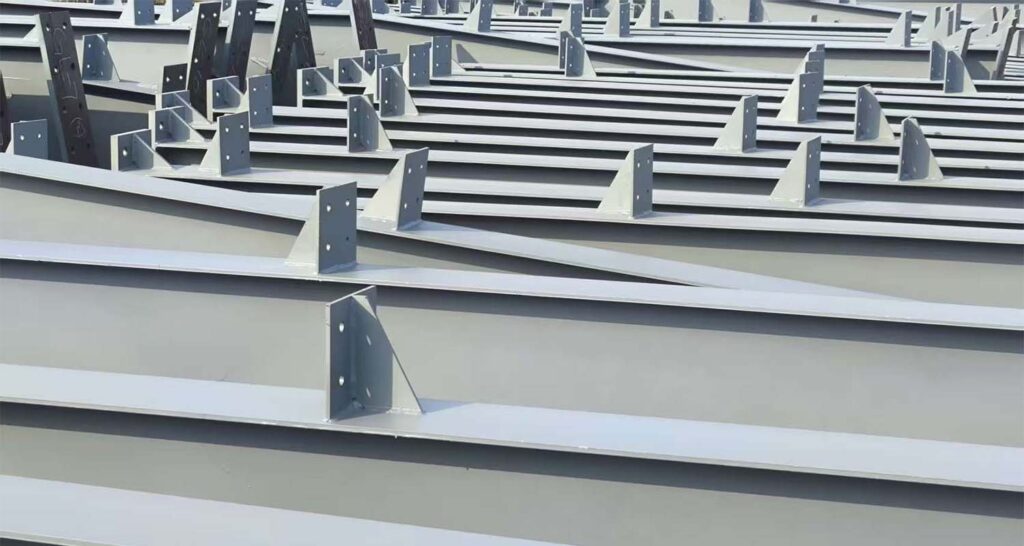
4) Install secondary beams next
Once primary beams are secure, install secondary beams (purlin-support beams, secondary framing, etc.). Confirm overall levelness and adjust early before secondary steel and cladding begin.
Secondary Steel & Accessory Members (Stability Comes From Completeness)
After the primary frame is installed and inspected, proceed with secondary members, such as:
- Roof bracing and horizontal bracing
- Knee braces, tie rods, struts
- Purlins and wall girts
- Stairs, platforms, handrails (if included)
These elements provide overall spatial stiffness and reduce the risk of deformation during cladding installation. Installing them on time is one of the keys to a stable, safe structure.
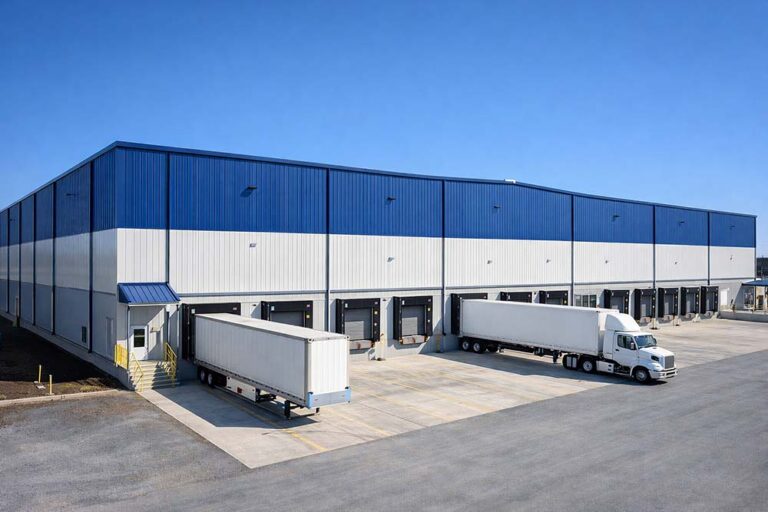
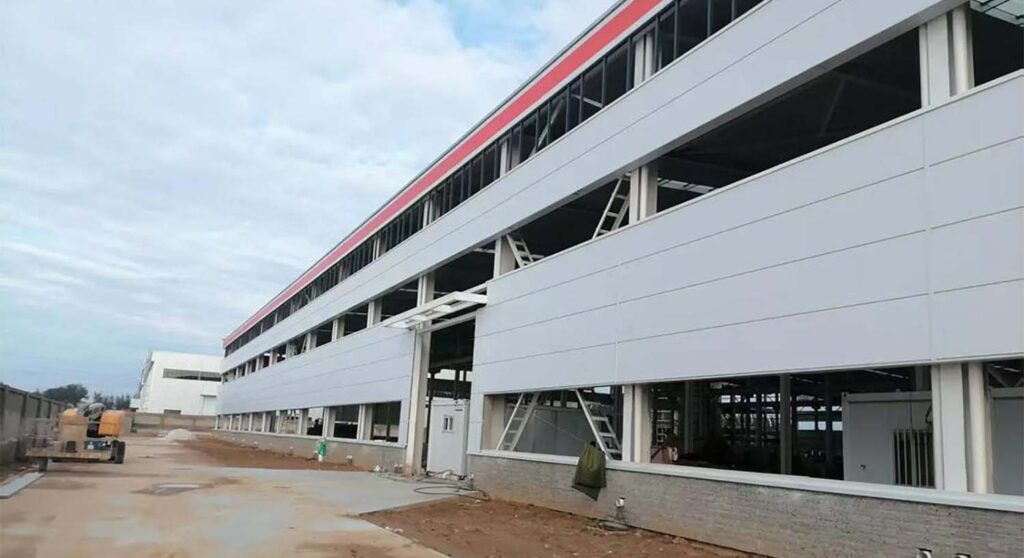
Roof & Wall Cladding Stage (Building Enclosure)
Once the steel frame is stable and accepted, cladding creates the building “envelope” and completes enclosure.
Roof works
Typical sequence:
- Install roof purlins (C/Z sections)
- Place insulation layer if specified
- Install roof sheets or insulated panels
- Seal laps and install ridge cap, gutters, downpipes
- Confirm waterproofing details
Wall works
Typical sequence:
- Install wall girts and framing around openings
- Install insulation layer (if used)
- Install wall sheets or insulated panels
- Install trims and seal interfaces (wall-to-foundation, wall-to-roof)
- Install doors, windows, vents, and daylighting as scoped
Supporting works
Install accessories such as canopies, flashing details, apron slabs, and other external items after enclosure planning is confirmed.
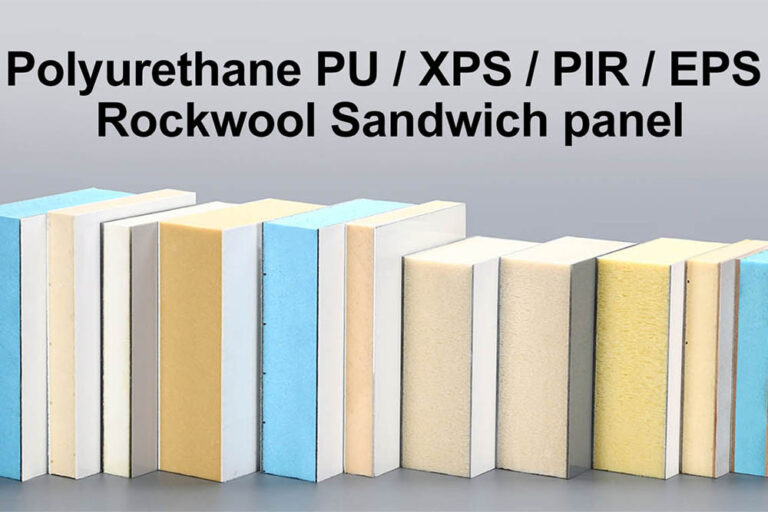
If you’re still deciding which panel core fits your budget and performance needs, our Warehouse Sandwich Panels Guide (EPS vs PU vs PIR vs Rockwool) breaks down the options in a buyer-friendly way.
Touch-Up Coating & Final Closeout
1) Touch-up paint and corrosion protection
On-site work can damage coatings. Repair:
- Scratches and exposed metal
- Heat-affected coating damage near welded areas
- Any bare steel not covered by approved systems
Prepare the surface properly before touch-up to ensure coating performance.
2) Site cleanup and removal of temporary works
Remove:
- Temporary supports and lifting rigging
- Waste materials (welding slag, scrap, packaging)
- Loose bolts and accessories from work zones
3) Detail checks and handover preparation
Inspect:
- Sealant continuity and joint closures
- Roof and wall interfaces for leaks
- Component markings and as-built clarity if required
- Final tightening checks where applicable
A tidy closeout improves the installation experience and reduces post-handover call-backs.
Practical Checklists
Pre-Erection Checklist
- Foundations accepted (strength, axis, elevation)
- Anchor bolts checked and within tolerance
- Crane area stable and accessible
- Storage zones organized by erection order
- Survey reference points set
Erection Quality Checklist
- Columns plumbed in two directions
- Bracing installed early to stabilize frames
- Main beams aligned before final tightening
- High-strength bolts tightened per sequence
- Secondary members installed before cladding
Enclosure Checklist
- Correct purlin/girt spacing and alignment
- Insulation and vapor control as specified
- Laps sealed and trims installed correctly
- Gutters/downpipes completed and tested
- Doors/windows aligned and sealed
Request an RFQ for Your Steel Warehouse Project
Share your building size (L×W×H), project location, intended use, and insulation/opening requirements. We’ll reply with a clear RFQ scope and the next-step drawing checklist.